How to Run Windows & IIS in the Cloud on Amazon EC2 (in 15 mins)
Choices abound for those looking for a place to run Web applications on Windows. The purpose of this blog post is to show a quick walkthrough of how to setup your first Windows computer in the cloud on Amazon EC2. If you’re already familiar with hosting and the cloud, skip the next few paragraphs.
The traditional approach is to use a Windows hosting provider, like DiscountASP.NET, MaximumASP.com, CrystalTech.com, etc. These long-time Windows hosting providers offer a flat monthly fee for shared (Web site) and dedicated server (full server) offerings ranging from a few dollars a month to a few hundred dollars a month. This works great for anyone who wants to set up everything from a simple family or community Web site to a small business or low traffic corporate site that can run on one server. If your site really takes off, and you want to scale it out onto many servers, you can of course pay for additional servers, and for the consulting services of your hoster to setup load balancing and more advanced network topologies. Some Windows hosters will even help you with the management of your new Web farm, which ends up being a complex set of gymnastics to backup your data , balance traffic, and deploy and manage your Web site’s content and code across a set of distributed servers. The cost and complexity of running a Web site on more than one server goes up pretty quickly. And if the traffic to your site grows and shrinks based on events related to your business, you are usually stuck with the high cost of the number of servers required to host your peak load.
New to the game are “cloud hosting” services, including Microsoft’s own Windows Azure (currently available for free in beta form), Mosso’s Cloud Sites, and Amazon’s Elastic Compute Cloud (EC2). These cloud computing offerings differ from traditional hosting in several ways. First, they offer a more ‘elastic’ capacity model that can grow and shrink on demand. You tell your hosting provider how much capacity you need, and they automatically ramp up or down the number of servers to meet the demand. The cost of the service is usually based on usage (like your electricity bill – which is why some often refer to this cloud computing as ‘utility computing’). Microsoft, Mosso and Amazon all do this in different ways, and offer a variety of capabilities and features that are unique to each. In some future post I may take the time to review the pros and cons of each, but for now you’ll want to read up on them yourself and decide which is the best for you.
The purpose of this post is to provide a quick walkthrough of how to setup your own EC2 account and run Windows and IIS in about 15 mins. Amazon’s approach to cloud computing will be familiar to anyone who is already running Windows Server themselves, as it essentially offers Administrative access to virtual server instances running on Amazon’s infrastructure. Once you’ve created your first instance of Windows server in EC2, you can log on to your Amazon-based Windows Server via Remote Desktop and install software and manage the server the same way you would if it was running in your home or office. Amazon just released their EC2 Web Console, which makes deploying new instances of Windows Server, and connecting to them, very easy.
How to setup an Amazon EC2 account and launch your first Windows computer in the cloud
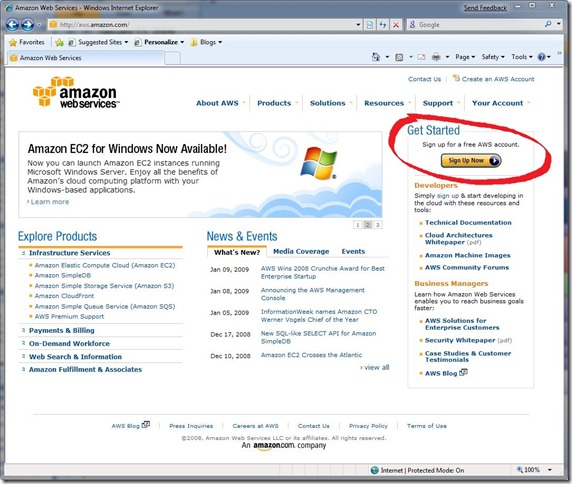
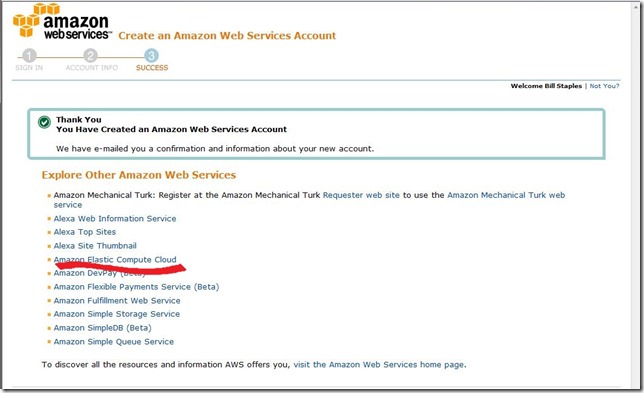
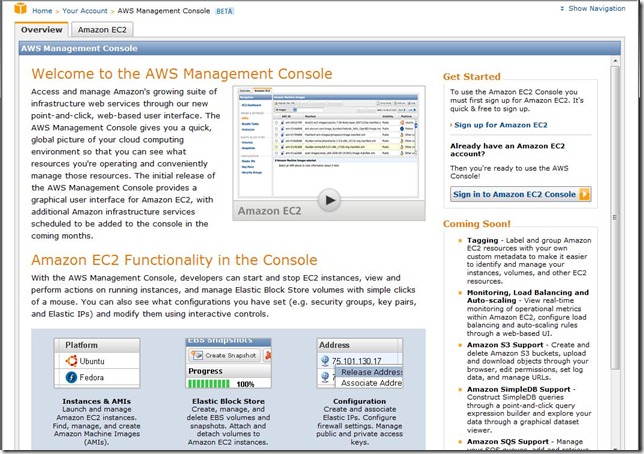
Step 1) get a free AWS account. Navigate to http://aws.amazon.com/ Unfortunately, I found a bug in IE7 that prevents some of the console from working properly, so you’ll want to use IE6 or Firefox. If you don’t have an AWS account, click the “Sign up Now” button. If you already have an account, go to Step #6.
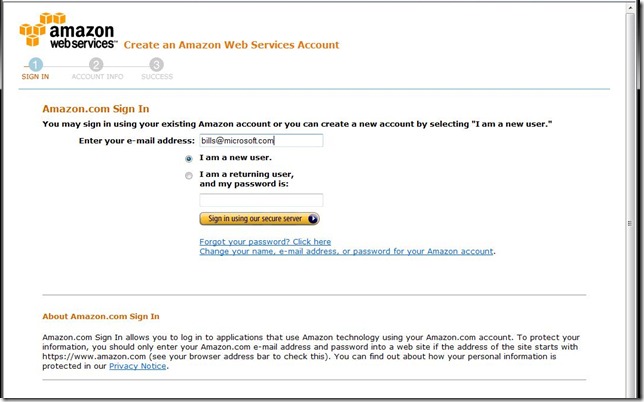
Step 2) enter your email address and password, and click “sign in using our secure server”
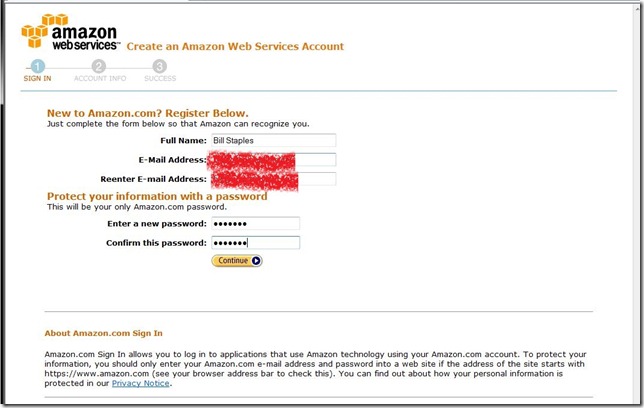
Step 3) Enter your full name, and your password
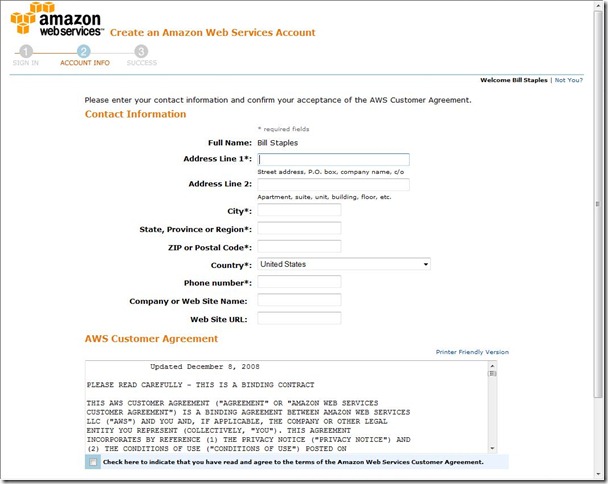
Step 4) Enter your contact information, read and accept the license agreement by checking the checkbox at the bottom of the screen.
Step 5) Choose “Amazon Elastic Compute Cloud”
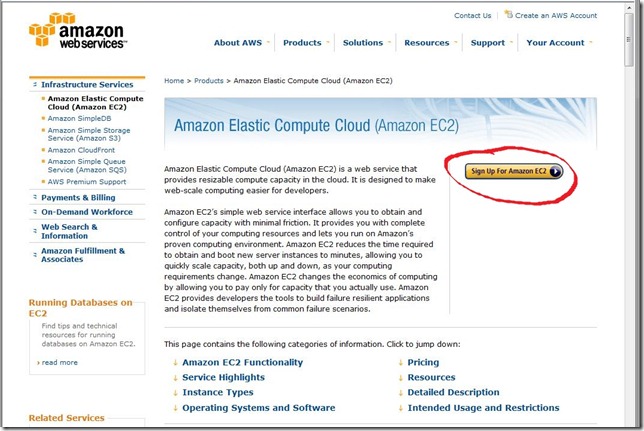
Step 6) Click the “Sign up for Amazon EC2” button
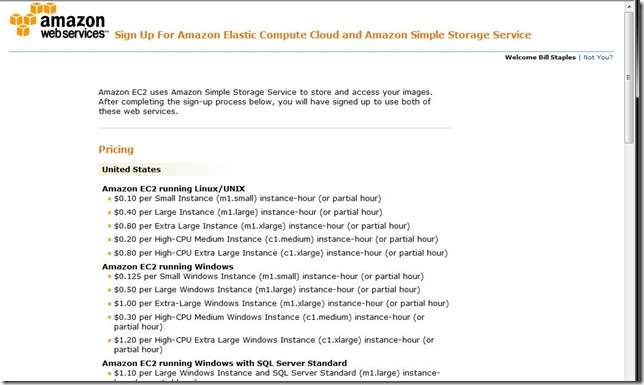
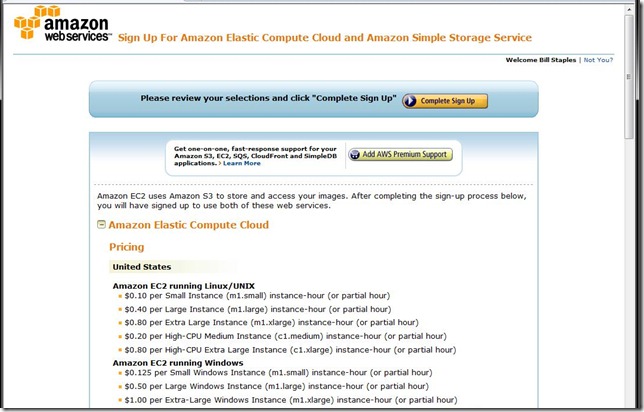
Step 7) Review the current pricing. Note to run a Windows Server the cost ranges from $0.125 to $1.20 per instance hour (and more if you include SQL Server). At the bottom of the page, enter your credit card information and click submit.
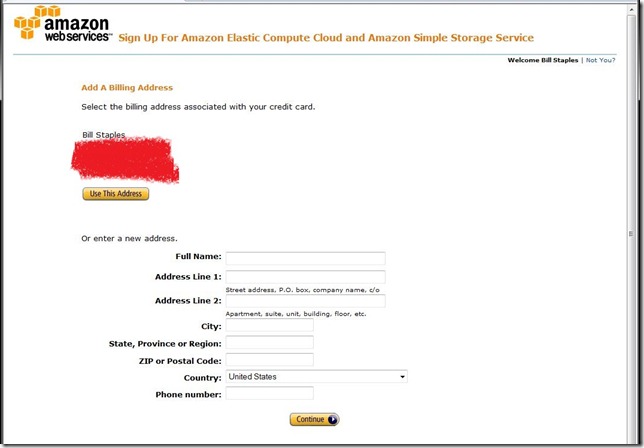
Step 8) Enter a new address for your billing information, or select the existing address if it is the same.
Step 9) Click the “Complete Sign Up” button at the top of the page to begin.
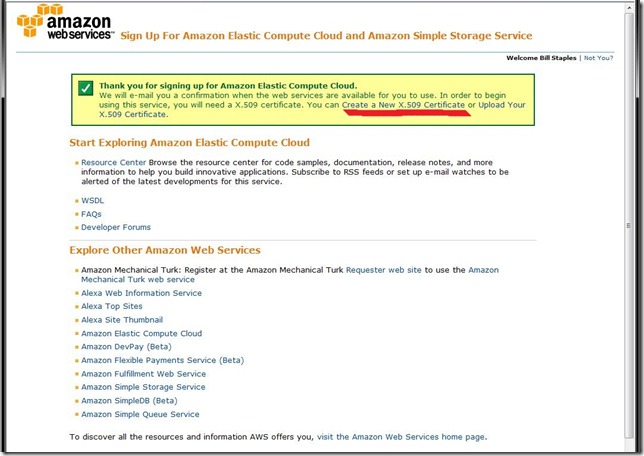
Step 10) You’ll need a certificate to authenticate with Amazon. If you already have one, click “Upload your…”, otherwise, click “Create a New X.509 Certificate”.
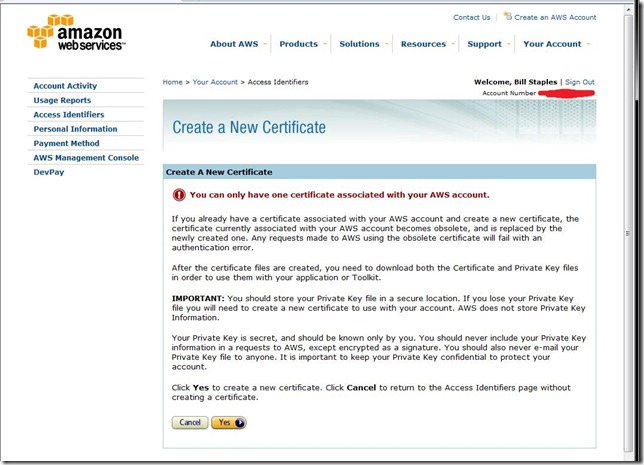
Step 11) Click Yes to generate your certificate
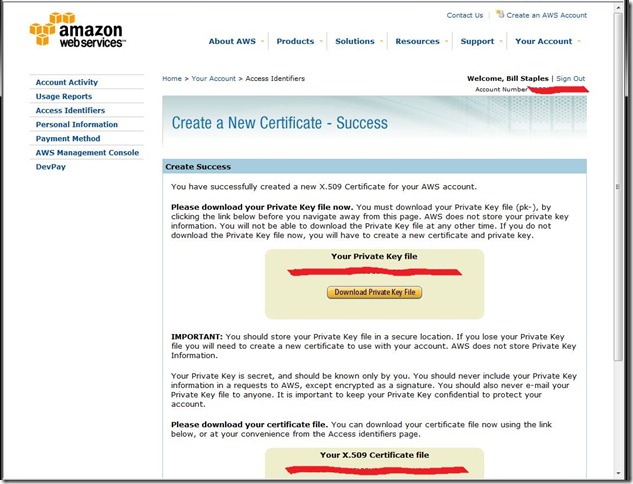
Step 12) Download your private key and certificate files. Keep them in a safe place that is protected from other users, and back them up! When you’re done, click the “AWS Management Console” link on the left.
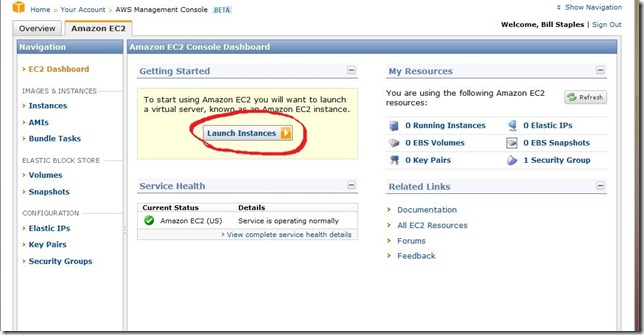
Step 13) Click the “Amazon EC2” tab. You may need to sign in again.
Step 14) To create a new instance of Windows, click the “Launch Instances” button.
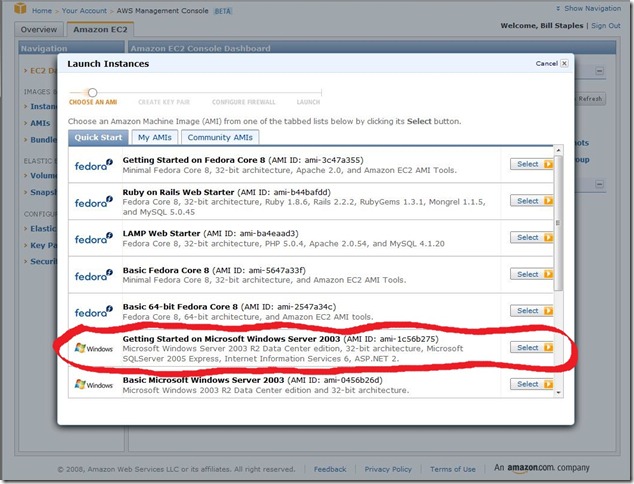
Step 15) There are several pre-built images of Windows available. If you want one with IIS, SQL Express, and ASP.NET pre-installed, choose the first one.
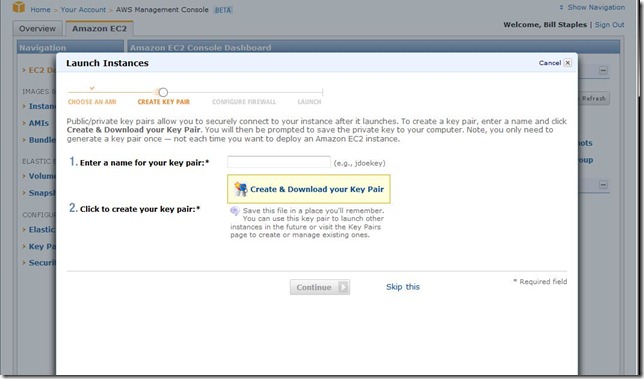
Step 16) You’ll need a key pair in order to securely connect to your instance. Click the “Create & Download your Key Pair” button (note IE7 beta doesn’t like this step)
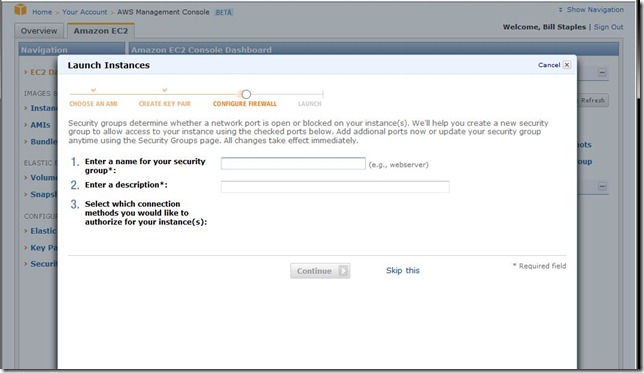
Step 17) Enter a security group name and description, and click “Continue”. Security groups are the way you configure policy for your Web server. For instance, you can open and close ports on a security group. I created a Webserver security group.
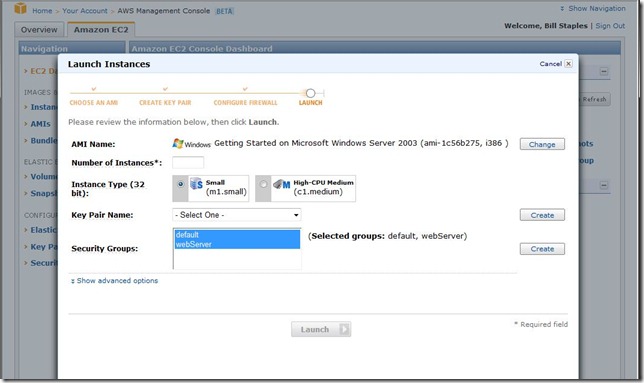
Step 18) Enter the number of instances (virtual machines) you want to create. For testing, I enter (1). I also leave it to “Small” instance type. Select your key pair name and select the security groups you want to associate this instance with (for applying policy, like firewall ports).
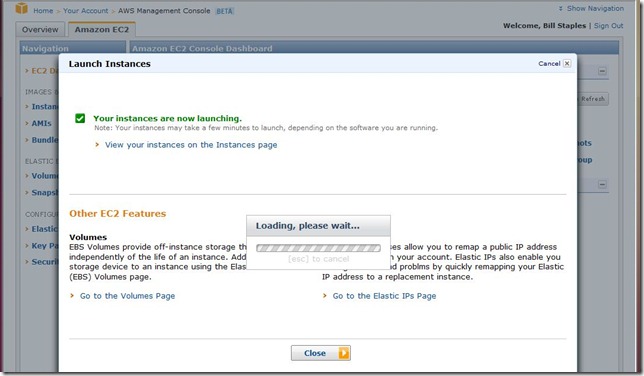
Step 19) Amazon will now launch your instance. Click on the “view instances” link.
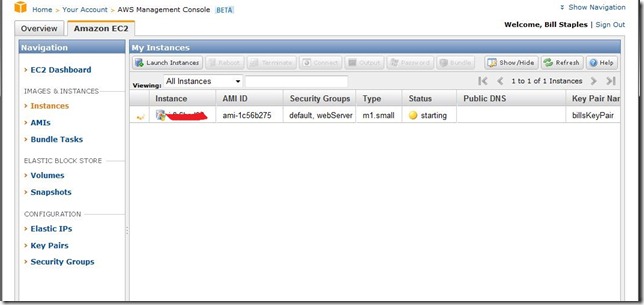
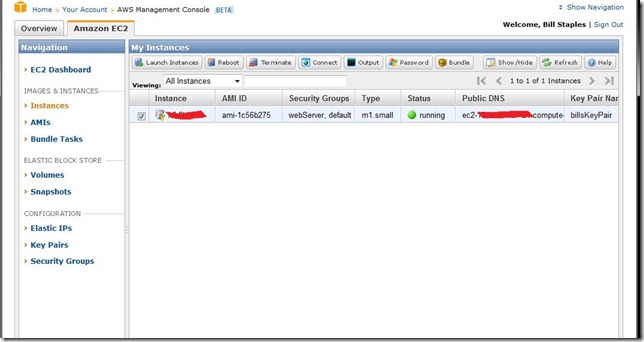
Step 20) Note the instance is in the “starting” status. Wait 3-5 mins for the instance to be created and to boot.
Notice the “status” has changed to “running”. Click on the instance and choose “password”.
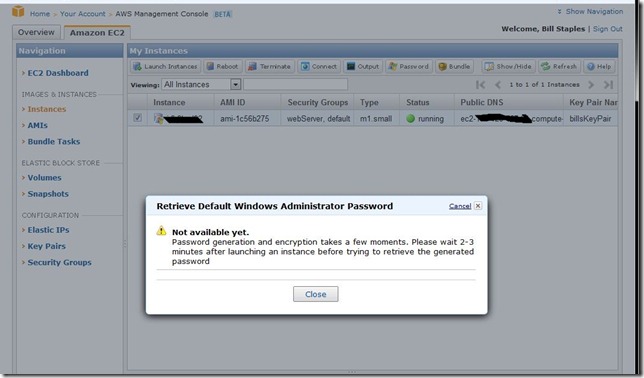
Step 21) you’ll want to remote desktop into your instance, which means you need the Administrative password. By default, Amazon encrypts this password. It takes a few minutes to generate and encrypt it.
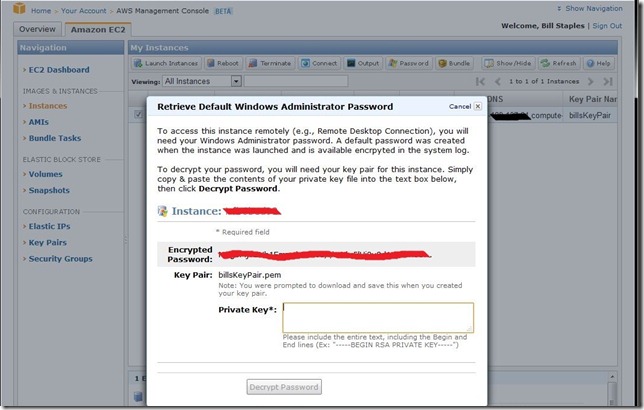
Once it is encrypted you’ll be able to click the “password” button again and see the screen below. Open the keypair file you generated in Step 16 and copy + paste it into the private key field below.
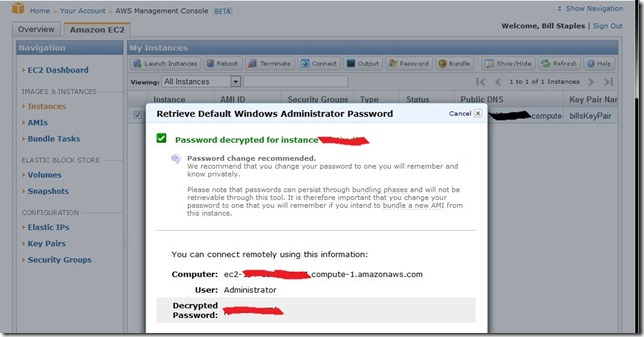
Step 22) Write down (or copy into the clipboard) the decrypted password shown. Close the dialog.
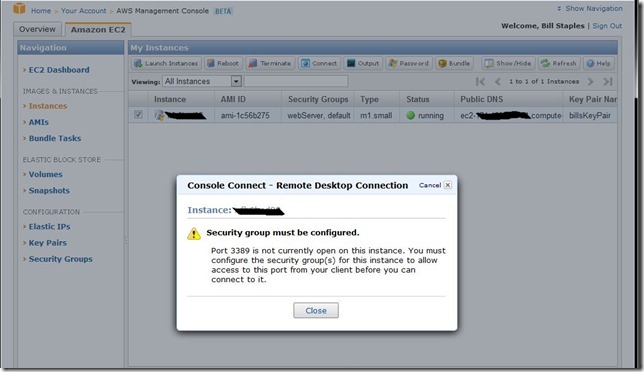
Step 23) Click on the “Connect” button and note that port 3389 is not currently opened, which is the port that remote desktop needs. We’ll need to click on “security groups” in order to open it.
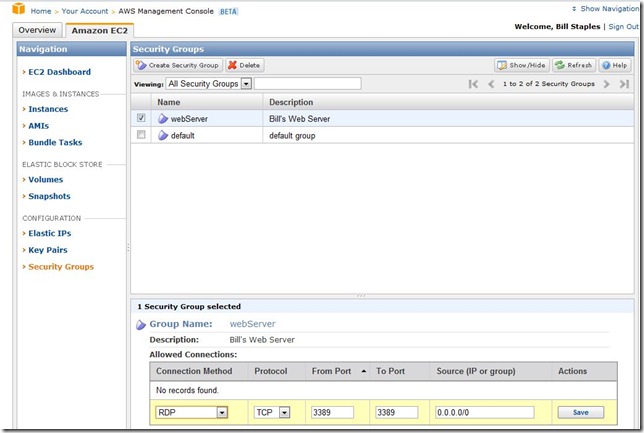
Step 24) Click on the security group you created in step 17) and choose “RDP” from the list of protocols below, then click “Save”
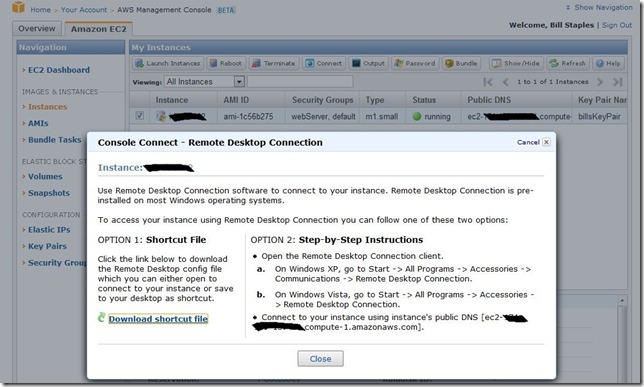
Step 25) Now click “Instances” and click the “connect” button for your instance. Note you can download a shortcut file using the link provided, which makes it easy to connect (just double click the file that downloads).
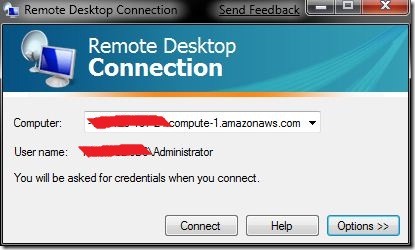
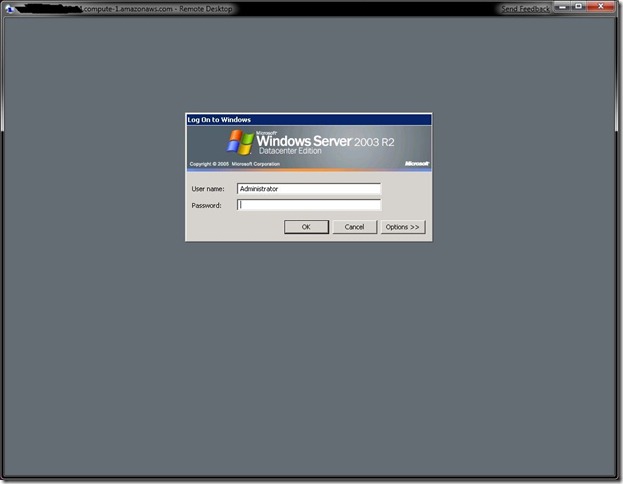
Step 26) Otherwise, fire up Remote Desktop and enter the computer name for your Amazon EC2 instance. Log in as Administrator using the password provided.
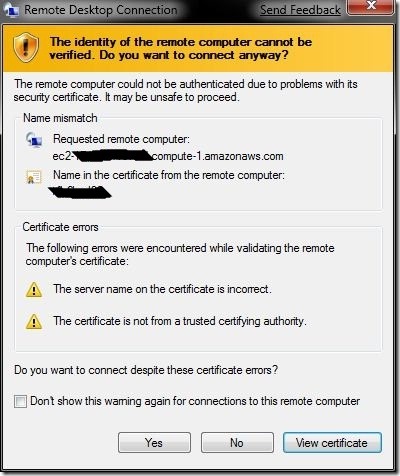
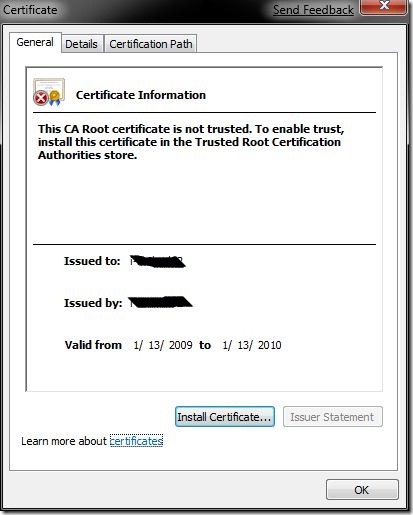
Step 27) The remote computer has an automatically generated certificate that is not automatically identified. Click “View Certificate”
Step 28) To install the certificate to your computer, click “install certificate” and follow the wizard.
Step 29) you should now be connected. Enter your Admin credentials from Step 22.
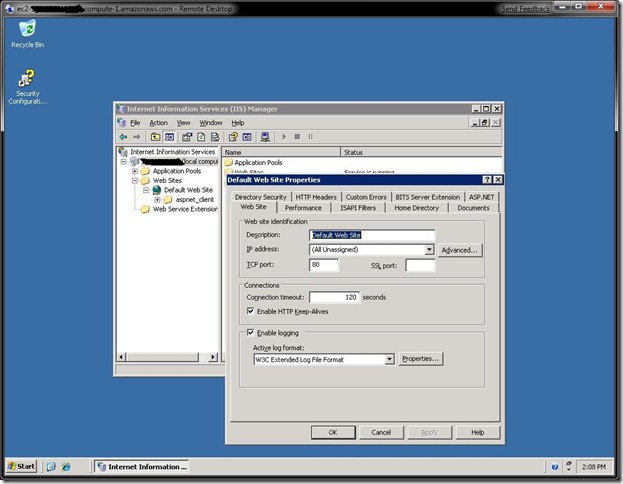
Step 30) Open up IIS Manager and start creating your Web site!
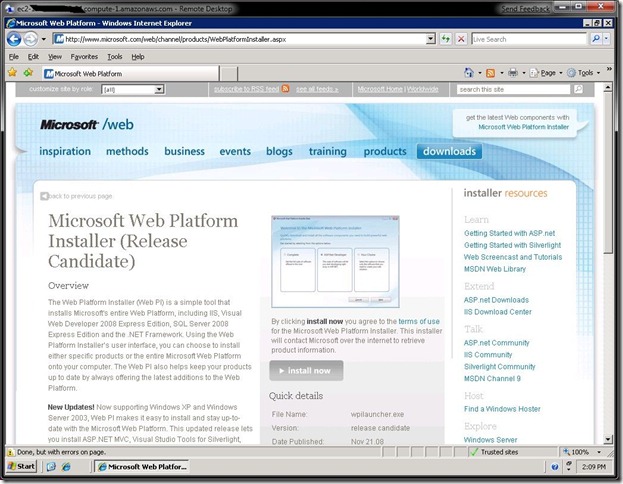
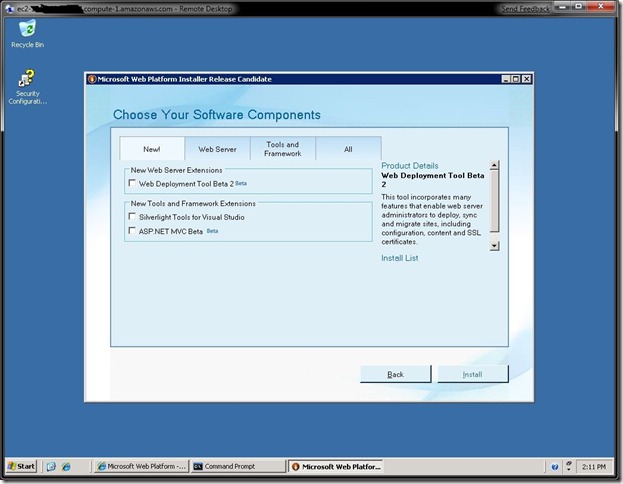
Step 31) You should also visit http://microsoft.com/web/channel/products/WebPlatformInstaller.aspx and install the Microsoft Web PI tool, which helps you get all the latest extensions and update in one place.
You’ll notice that Amazon currently only has Windows 2003 available, which means that it isn’t yet possibly to run IIS7! If you’re like me, this is a real bummer as IIS7 has so many cool new features. Please send Amazon a note letting them know you would like to see Windows 2008 available on EC2!
