Configuring PHP Extension on Windows - A simple way
There has been too many problem reported in our forum about not able to configure one particular extension. The problems are many:
- Configuring a non-compatible version of the extension
- Missing some dependent DLL
- Trying to use thread safe version of the extension DLL for non thread safe PHP build and vice-versa
If you have configured a PHP extension and you can't see it loaded, I generally run the command (assuming your PHP is installed at 'C:\Program Files\PHP')
'C:\Program Files\PHP\php-cgi.exe' -v from the command prompt.
This really helps in catching some error.
So what's the best way to configure a PHP extension. I would say if the extension you are trying to install is available as part of PHP MSI, it is the best idea to use the PHP MSI to configure your extension. There is no manual step involved and all right dependent DLL will also get installed. Plus your PHP.INI file gets updated automatically. Now I am going to tell you how to achieve this from a PHP MSI UI. Let me warn you this is for novice user. Expert ones can just skip this. So here are the steps:
- Go to Control Panel
- Click on Add/Remove Program (Or, Uninstall a program)
- Select PHP MSI and click on 'Change'. Remember you should have installed PHP using the PHP MSI. If you have installed it using the ZIP file this won't work.
- You will see the below UI.
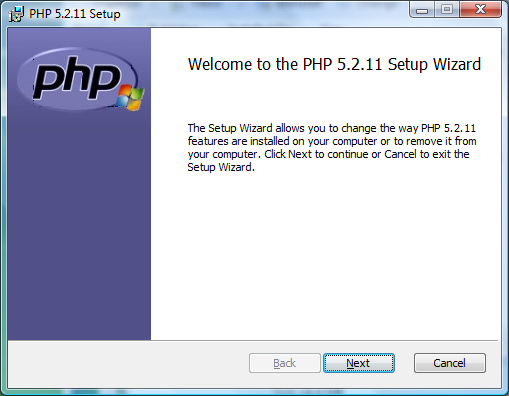
- Click on Next, following UI will appear.
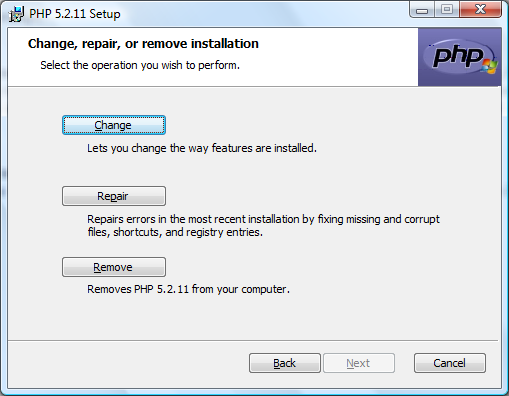
- Click 'Change'

- Select 'IIS FastCGI'
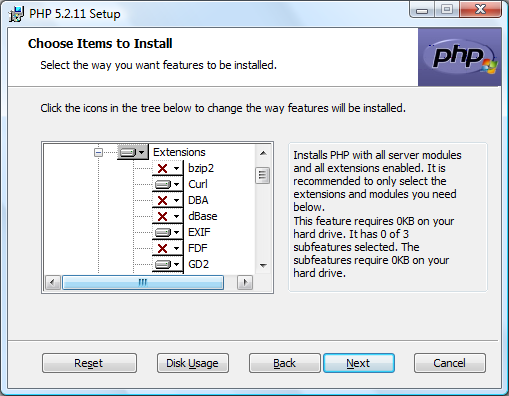
- Chose the extension you want to install and click 'Next'.
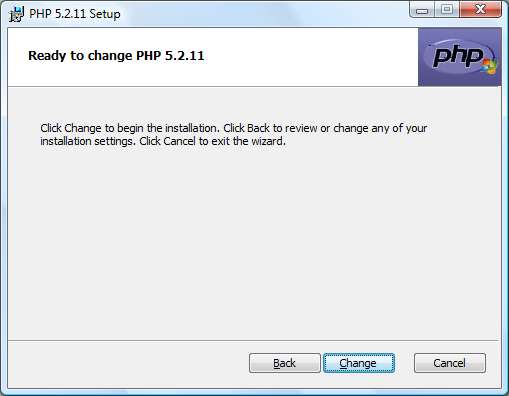
- Click on 'Change'
- Click on 'Finish' on next screen and you are done.
So you now know how easy it is to install a PHP extension using the MSI.
Hopefully this will help you in setting up your PHP extension. Thanks for the patient reading and good bye.
Don.